Capturing the night sky
Astrophotography, the art of capturing images of the night sky, can be a rewarding and challenging form of photography. Whether you’re interested in capturing the Milky Way, the Aurora Borealis and Aurora Australis, shooting meteor showers, or taking long-exposure shots of the stars, astrophotography requires a unique set of skills and equipment.
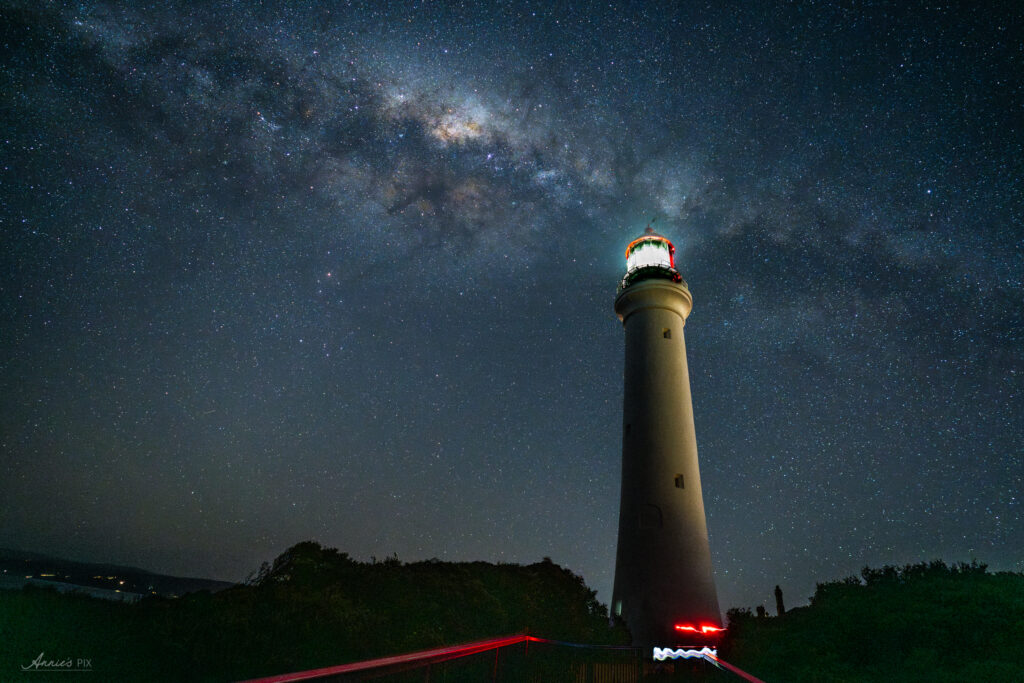
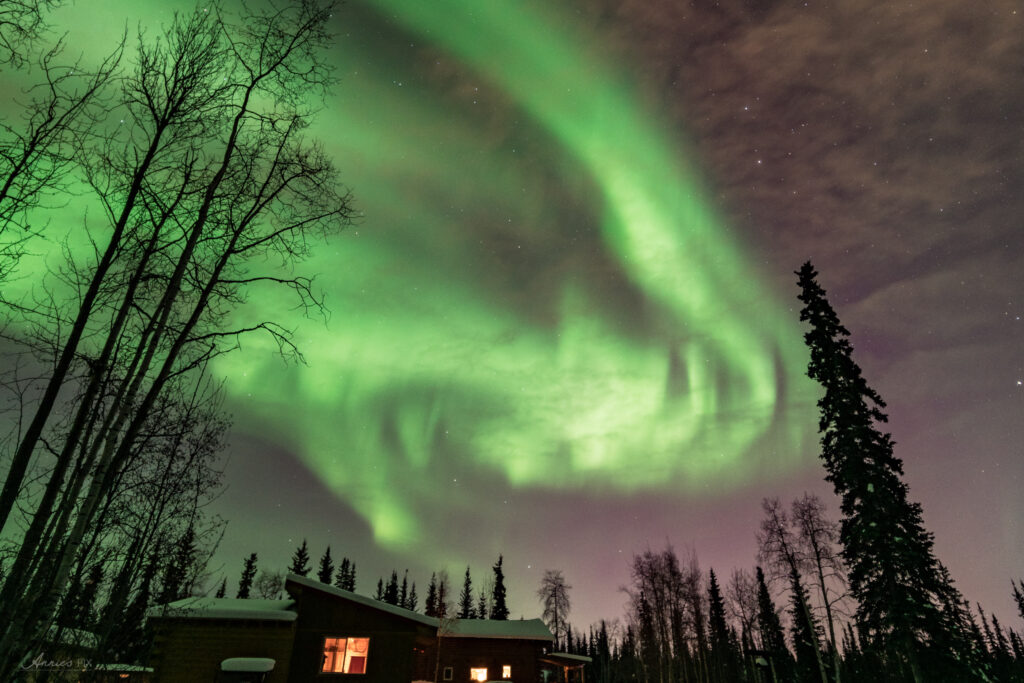
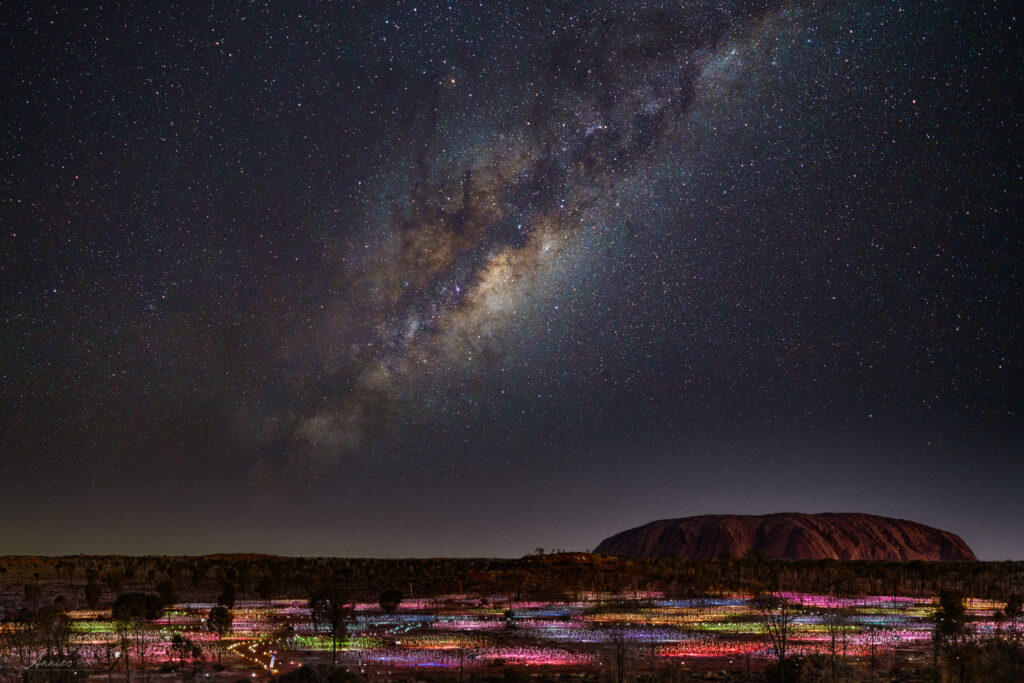
Here are some tips to help you get started with astrophotography:
- Camera: DSLR or Mirrorless Cameras are the most popular type of camera used for night sky photography. They offer manual control settings and the ability to change lenses, allowing for more flexibility and control over the final image
- Find a dark location: To capture the best possible astrophotography images, you’ll need to find a location that is as dark as possible. Light pollution can greatly affect the quality of your images, so it’s best to find a location that is far away from city lights. An app I use to find dark locations is lightpollutionmap.info.
- Use a tripod: Since you’ll be taking long-exposure shots, it’s important to have a sturdy tripod to keep your camera steady. This will help ensure that your images are sharp and free of blur.
- Use a wide-angle lens: A wide-angle lens will allow you to capture as much of the night sky as possible. Look for a lens with a fast aperture, such as f/2.8 or lower, to allow as much light as possible to reach your camera’s sensor.
- Understanding the Exposure Triangle: For astrophotography, you’ll need to take full control of your camera’s settings. Start by switching your camera to Manual (M) mode. This is crucial because it allows you to directly control the three key elements of the exposure triangle: shutter speed, aperture, and ISO. In a low-light environment like the night sky, your camera’s automatic modes won’t be able to properly expose the scene, as they’ll typically try to compensate in a way that results in a dark, blurry, or noisy image. Balancing these three settings is essential to capture a well-exposed photograph of the stars. Here’s a quick breakdown of each element:
- Aperture: This is the opening in your lens that lets in light. For astrophotography, you want to let in as much light as possible, so set your aperture to its lowest f-number (e.g., f/1.8, f/2.8). This is often referred to as a “wide open” aperture.
- Shutter Speed: This is how long the camera’s sensor is exposed to light. Since the stars are so faint, you’ll need a long shutter speed, typically 15 to 30 seconds or even longer, to gather enough light. Be aware that too long of an exposure will cause star trails as the Earth rotates.
- ISO: This determines your camera sensor’s sensitivity to light. A higher ISO makes the sensor more sensitive, which is necessary for low-light conditions. However, a high ISO also introduces digital noise into the image, so you’ll want to find the right balance between a bright exposure and a clean image. Start with an ISO around 800-1600 and adjust as needed.

- Use manual focus: Autofocus can be unreliable in low-light conditions, so it’s best to use manual focus when shooting astrophotography. Set your lens to infinity and adjust it slightly until the stars appear sharp in your viewfinder.
- Use a remote shutter release: A remote shutter release or intervalometer will allow you to trigger your camera without physically touching it, which can help reduce camera shake and improve the sharpness of your images. If you don’t have a remote release, you can use your camera’s built-in shutter delay timer, often set to 2 or 10 seconds. This gives any vibrations from pressing the shutter button time to dissipate before the exposure begins. While not as convenient as a remote, it’s a simple and effective way to achieve similar results.
- Use long exposures: To capture the full beauty of the night sky, you’ll need to use long exposures. Experiment with different shutter speeds, but be mindful of the Earth’s rotation and the movement of the stars, so don’t go too long or too short.
- Shoot in RAW: Shooting in RAW format will give you greater flexibility when editing your images. RAW files contain much more information than JPEG files, allowing you to make post process and make adjustments to exposure, color, and other settings without degrading image quality.
- Bring spare batteries and memory cards: Shooting astrophotography can be a battery-intensive and storage-intensive endeavor, so it’s always a good idea to bring spare batteries and memory cards with you.
- Bring a headlamp: Keep your hands free to operate your camera by using a headlamp at night and, if possible, use the red light mode (if it has one) to preserve your night vision
- Use a sky/star/astronomy/cloud tracker app. A sky/star/astronomy/cloud app can help you properly strategise and plan your shoot. Knowing where in the sky you want to direct the camera ahead of time can help you better optimise your time and effort. I use the Photopills and The Photographer’s Ephemeris and cloudfreenight app, a cloud forecast app. Other apps include Stellarium and Starwalk 2.
- Be patient: Astrophotography can require a lot of time and patience. You may need to wait for the right conditions, such as clear skies and a new moon, to get the best shots.
- Post process: Post-processing night sky images can greatly enhance the detail and beauty of celestial objects captured in the night sky. Astrophotography is a challenging genre that requires specific gear, techniques, and knowledge to produce high-quality images. Post-processing allows you to refine your astrophotos by reducing noise, enhancing contrast, and bringing out the intricate details and colors of the stars, planets, and galaxies.
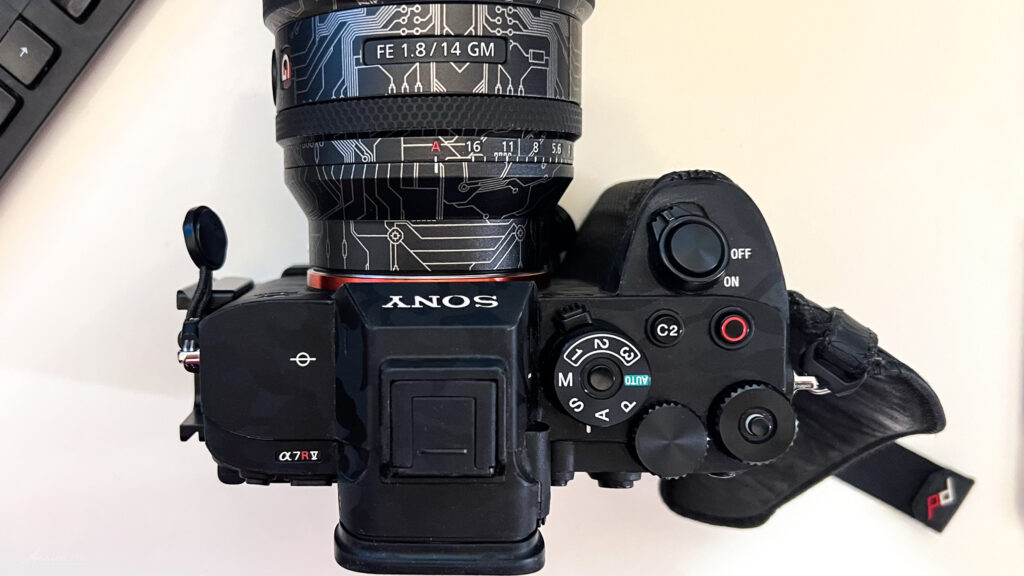
Camera Settings Guide
The camera settings for astrophotography can vary depending on the specific conditions and type of shot you are trying to capture. However, here are some general settings that can be a good starting point. Set your camera to Manual Mode.
- Shutter speed: To avoid star trails, I use the 500 rule. In its simplest form, this is 500 divided by the focal length of your lens. For example, if you are using a 20mm lens, this would be 500 / 20mm = 25 seconds. This, however, only applies to full frame cameras. For a crop sensor camera, the crop factor needs to be taken into account, so in this instance I would recommend using a base value of 300 for APS-C type cameras, and 250 for Micro Four Thirds.
- Guide to avoid star trails, maximum exposure time
- Full-frame
- 14mm: <20s
- 20mm: <15s
- 24mm: <10s
- APS-C
- 10mm: <20s
- 14mm: <15s
- 18mm: <10s
- Full-frame
- Guide to avoid star trails, maximum exposure time

- ISO: The higher the ISO, the more the light signal captured by your camera’s sensor is amplified. You will need to shoot at a high ISO for astrophotography, but there’s a trade-off. The higher the ISO, the more noise (a type of digital degradation) you will begin to see in the image, and every camera increases noise in a different way. Some slowly ramp it up, others make a big jump after a particular setting. ISO 3200 is a good starting point, though you may need to adjust down to ISO 1600 if there is a lot of ambient light or light pollution or you start to see more noise than stars. Very dark skies may require you to boost the ISO to 6400, but I wouldn’t recommend going higher than this.

- Aperture: Set your aperture as wide as possible, in almost all situations, so set it to an f-number of f/4 or lower. I recommend f/2.8 or lower, but use the maximum your lens is capable of. Many DSLRs and mirrorless cameras use a wheel on the camera body to set the aperture, but manual lenses and some made for some mirrorless have an aperture ring on the lens itself. Lower F numbers always mean wider apertures and greater light-gathering ability

- Manual Focus:
- Set your camera to manual focus – autofocus will not work in the dark.
- Adjust your lens focus and set it to infinity.
- Aim for the brightest star you can see and view it on the camera’s Viewfinder (Mirrorless) or Live View (DSLR) display.
- Adjust the focus a bit and magnify the image by around 5x so that you can zoom in on the star.
- Adjust the lens focus ring until you can see that the star is really small and clear.
- Keep checking the Viewfinder (Mirrorless) or Live View (DSLR) – if you see a bit of colour around the stars, then that’s a sign that you’re not focused enough.
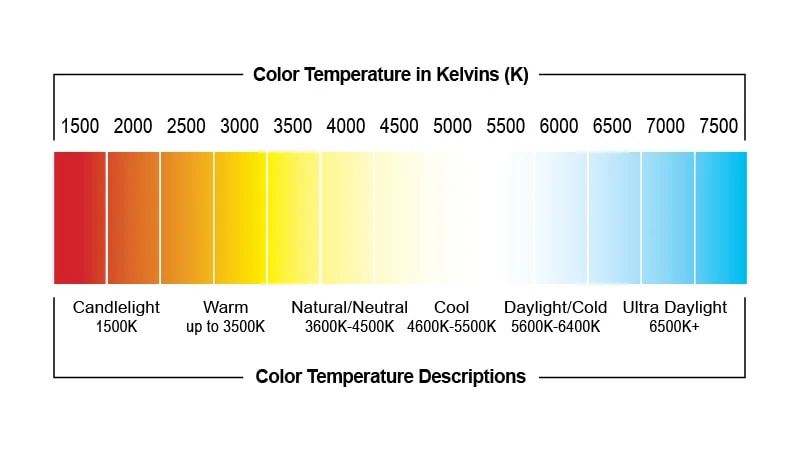
- White Balance: Values between 3500k and 4200k are usually a good starting point to capture the most natural colors in our galaxy, which will produce a slightly warm, yellowish tone that can enhance the natural colors of the stars and the Milky Way.
- Long Exposure Noise Reduction: turn this off. If you’re planning to capture photos of the Milky Way or night sky, it’s recommended to turn off in-camera long exposure noise reduction (LENR) for a few reasons.
- the camera takes a second exposure of the same length with the shutter closed immediately after the first exposure. The camera then compares the two images and subtracts any hot pixels or noise from the second image from the first image. This process takes time, which means that you’ll have to wait for the camera to process the second image before you can take another shot. This can be frustrating if you’re trying to capture multiple images of the night sky.
- LENR can sometimes introduce additional noise into your image. This is because the camera sensor can heat up during the second exposure, which can cause additional noise to appear in your photos. This can be especially problematic if you’re trying to capture long exposures of the Milky Way, as any additional noise can be quite noticeable.
These settings are just a starting point, and you may need to adjust them depending on the specific conditions and type of shot you are trying to capture. Experiment with different settings until you get the shot you want.
Things to bring
Astrophotography is an amazing experience and requires a few essential items to ensure you capture the best possible photos. Here are some things you may want to consider bringing for an astrophotography shoot:
- Camera: A camera is essential for astrophotography. Make sure it is a camera that is capable of manual settings and has the ability to take long exposure shots.
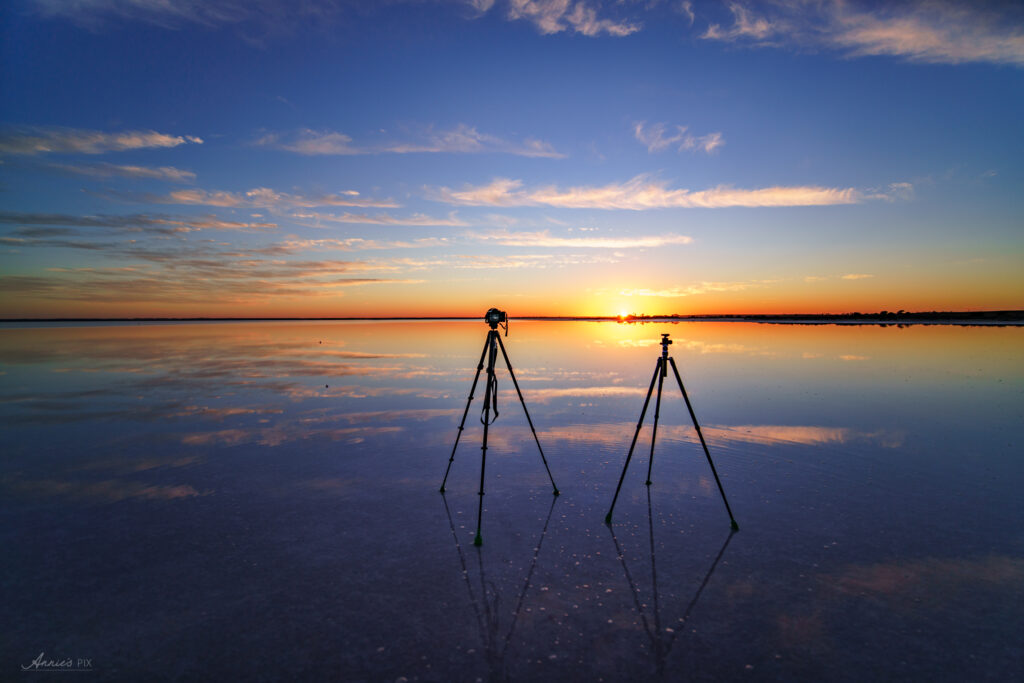
- Tripod: A sturdy tripod is crucial for keeping your camera steady during long exposure shots. Look for one that is adjustable and can be set up on uneven ground.
- Lens: Depending on what you want to photograph, you may need a specific lens. A wide-angle lens is usually preferred for astrophotography as it can capture a larger area of the night sky.
- Remote Shutter Release: A remote shutter release or intervalometer will help you avoid camera shake when taking long exposures.
- Headlamp or Flashlight: A headlamp/flashlight will help you see your camera settings in the dark and avoid tripping over any obstacles.
- Extra Batteries: Make sure you have extra batteries for both your camera and any other devices you are using, such as a remote shutter release.
- Warm Clothing: Depending on the location and time of year, it can get cold at night. Make sure you dress warmly and bring extra layers, especially if you are planning on staying out for an extended period. Consider warm jacket, gloves, heat pack, gumboots
- Ziplock Bag: Bring a ziplock bag that will fit your camera and lens. Condensation forms most often when your bring your camera from a cold/dry environment to a warm/humid environment (from cold outdoors to a warm room or car). The environmental change will introduce moisture. The goal here is to introduce these dramatic temperature/humidity changes slowly, and to make sure this air does not hit your glass directly. Before entering an environment that is drastically different from the one you are in, you can place your camera inside a plastic ziplock bag, seal it and then place that into your camera bag – do this BEFORE stepping into your new environment. This will prevent the new air temperature from hitting your camera directly.
- Snacks and Water: It’s important to stay hydrated and fed during long astrophotography sessions, so bring plenty of water and some snacks to keep you energised.
In conclusion, astrophotography can be a fun and rewarding experience, but it is essential to prioritise safety. You should always be mindful of your surroundings, stay hydrated, and bring appropriate clothing for the weather conditions. With the right preparation and precautions, astrophotography can be a memorable and awe-inspiring experience.
If you would like a quick summary here are some great videos on youtube: